Step 2: Setting up a Geoserver
In this step we will set up a GeoServer with a connection to a PostGIS database. If you don’t have a running postGIS database yet, please start at step 1 setting up a postgis database
1. A prerequisite for GeoServer is the Java Runtime Environment (JRE). At the time of writing GeoServer requires JRE 8. You can download it here: http://www.oracle.com/technetwork/java/javase/downloads/jre8-downloads-2133155.html
2. Install the .exe of JRE and follow all the steps.
3. Download GeoServer from http://geoserver.org/download/
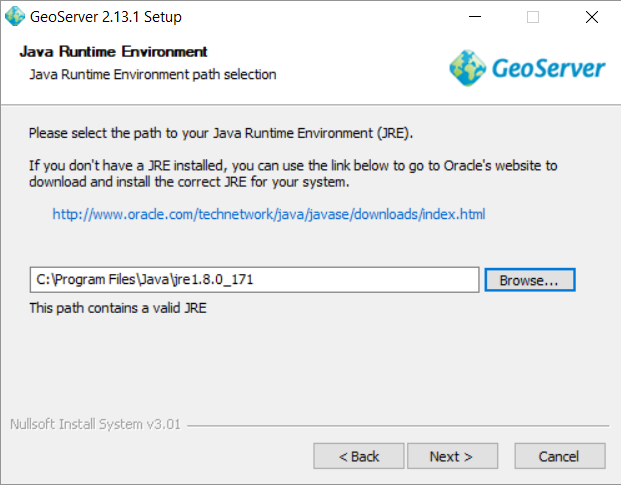
4. Launch the .exe of the GeoServer. You can accept the standard settings. You also need to specify where you installed the JRE 8 (normally you can find the folder in your ‘Program Files’).
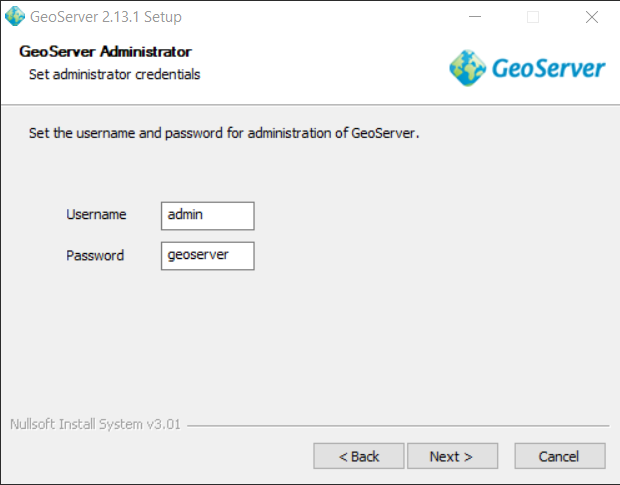
5. Take note of the administration credentials. You can accept the standard (Username: ‘admin’, Password: ‘geoserver’ for now and change them later.
6. Take note of the web server port. You can leave it on port 8080.

7. Finish the installation.
Congratulations! You now have your own GeoServer installed. Let’s start it up.
8. Start the GeoServer (Start => All Programs => GeoServer … => Start GeoServer).

9. Wait for the comman shell to start everything up. Then go to http://localhost:8080/geoserver/ (if you have entered a different port you need to use this instead of 8080).
10. Login with your admin credentials (username: ‘admin’, password: ‘geoserver’).
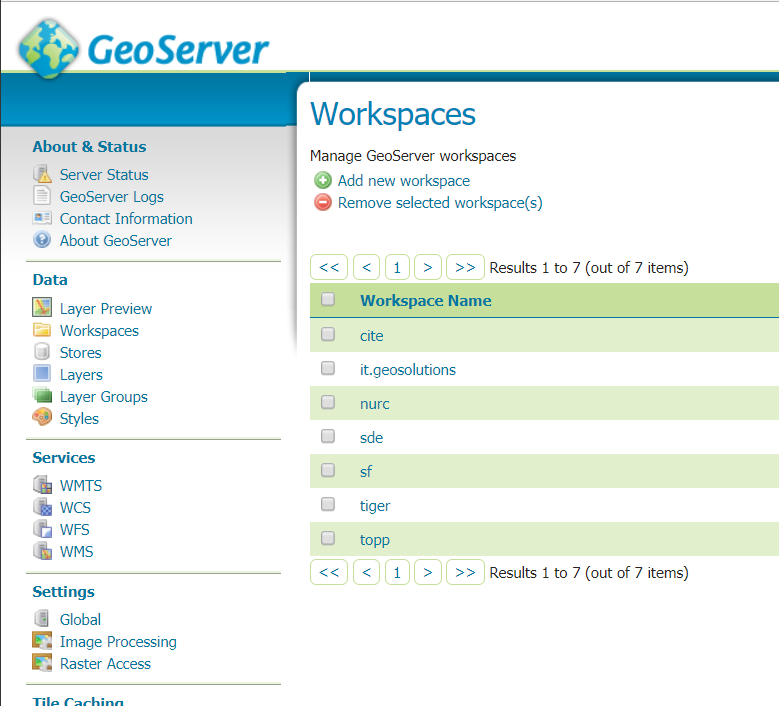
11. Go to ‘Workspaces’ and click on ‘Add new workspace’.
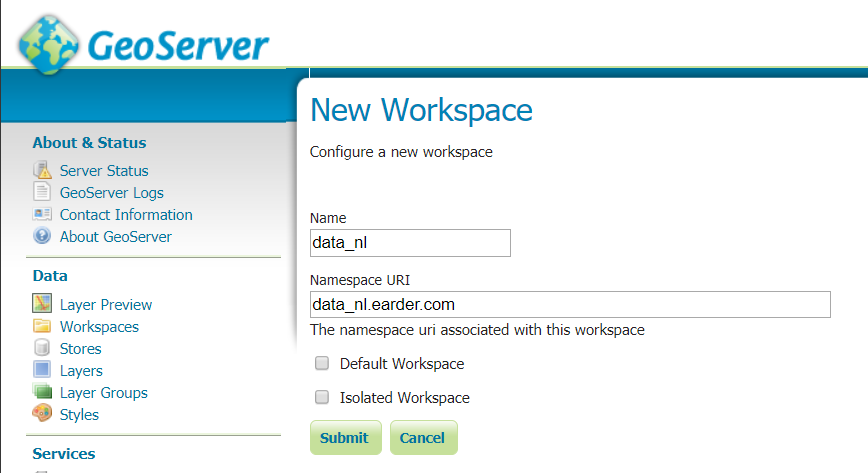
12. Add a name (I will use ‘data_nl’) and a Namespace URI (I will use data_nl.earder.com) and click on submit.
13. Go to ‘Stores’ and click on ‘Add new Store’.
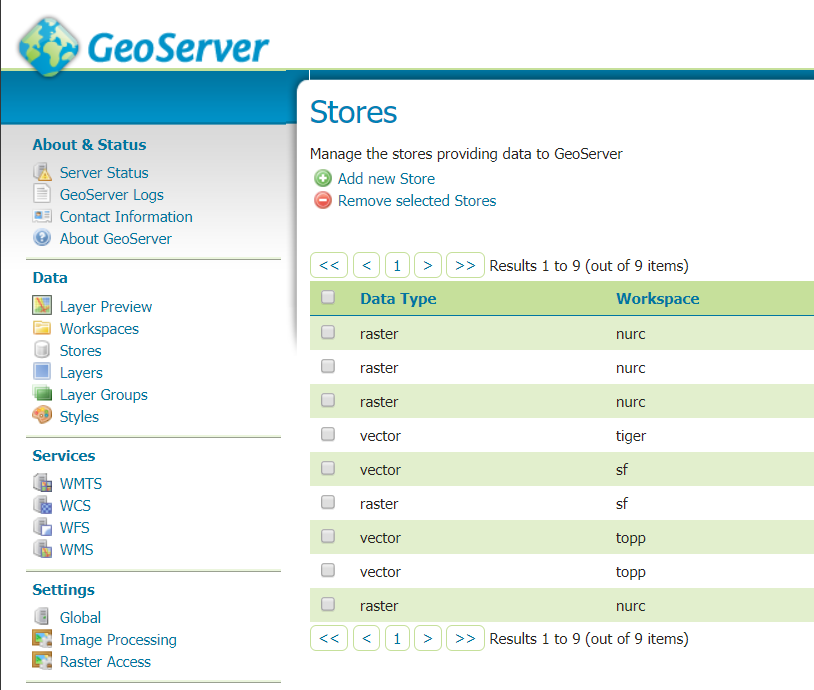
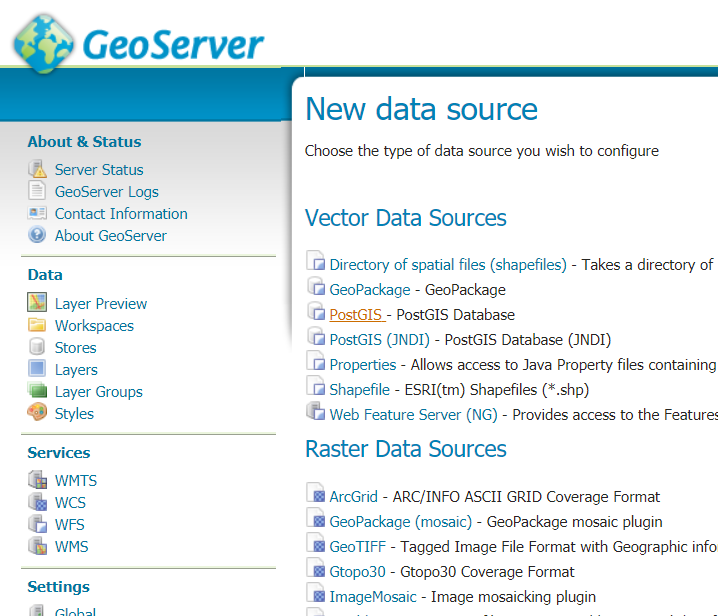
14. Click on ‘PostGIS’
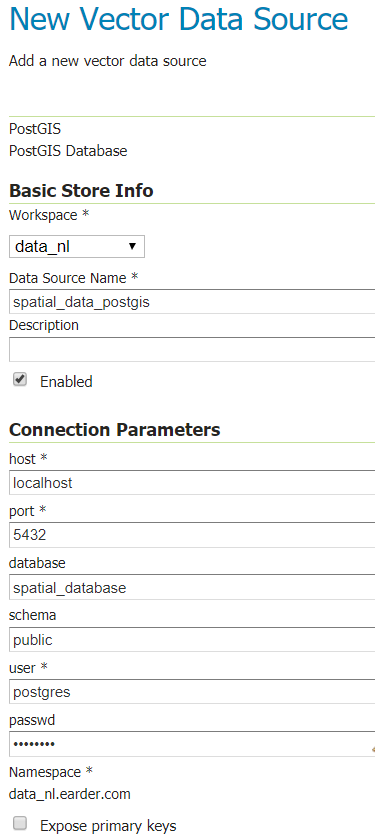
15. Choose your new workspace, set a name and fill in the connection parameters to your database. Fill in you connection parameters. In my case I choose ‘spatial_database’ as my database name. The user is ‘postgres’. The password is the password you have set during the installation of PostgreSQL. You can leave the other settings as is.
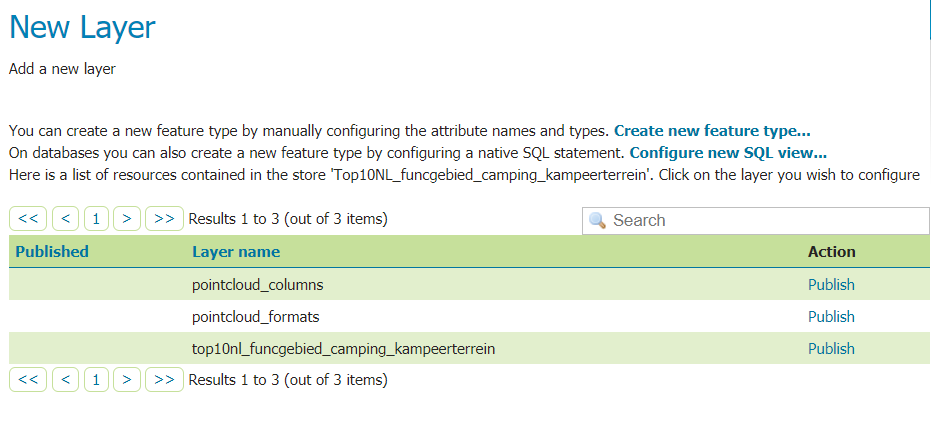
16. If all went well you now see 3 layers we can publish. Let’s take the one we have uploaded during step 1. Click on ‘Publish’.
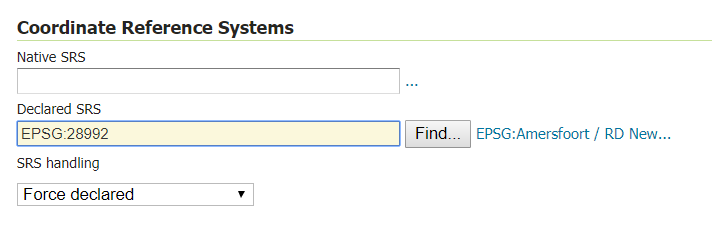
17. Scroll down to ‘Declared SRS’. If you used the ‘top10nl_funcgebied_camping_kampeerterrein’ in step 1 you will find that this SRS is in fact not correct. Our data was projected in the Dutch Native Projections EPSG:28992. So let’s change that. If you used another shapefile and you are not sure which EPSG it had, you can use QGIS (https://qgis.org/en/site/forusers/download.html) to explore the SRS of your shapefile.
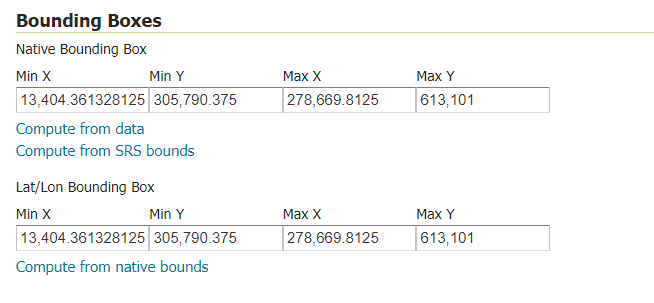
18. Scroll down to ‘Bounding Boxes’ and click on ‘Compute from data’ and on ‘Compute form native bounds’.
19. Scroll further down and click on save.
We now have a published layer on our GeoServer. Let’s check it out.
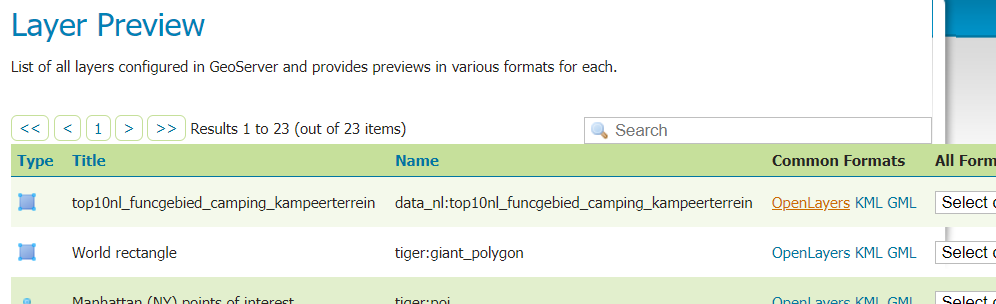
20. Go to ‘Layer Preview’, go to your new layer and click on the ‘OpenLayers’ Url next to it.
You should now see a interactive map with your data.